Our Daisy troop was working on the Clover patch which teaches the girls to use resources wisely. For the activity we made origami newspaper flower pots to show them one way to reuse resources. We had to help them a little with getting their creases tight, but most the girls could follow us step-by-step. I thought it’d be neat to share with those of you who might use it as a kid’s project, or even a way to start seeds. For those thinking of using it to start seed for vegetables, please note newspaper ink is typically soy-based or water-based so if you have a soy intolerance, you may want to use something else. Okay, and now onto the folding:
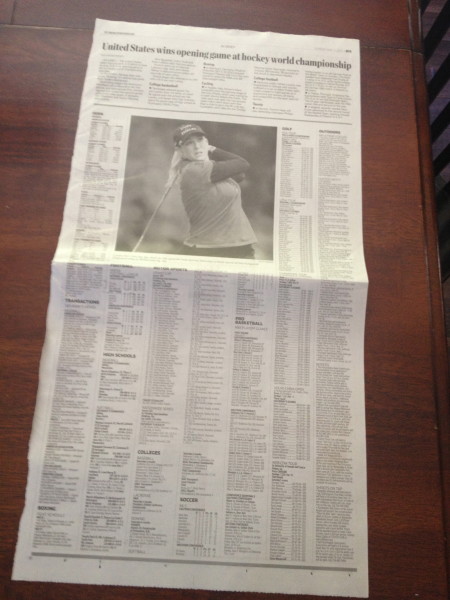
1. Take one half on a newspaper spread….
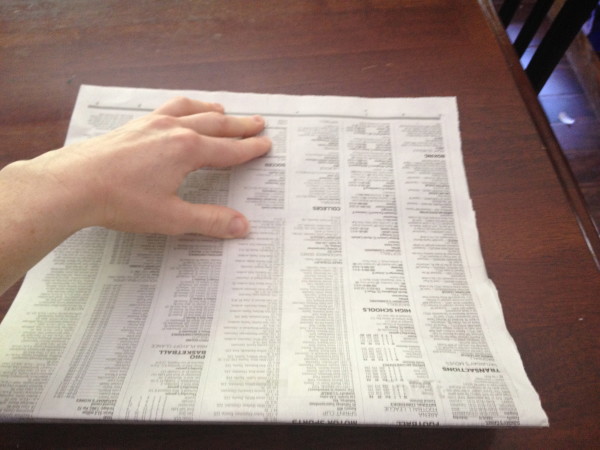
2. Line up the top and bottom folding it perfectly in half (you’ll be surprised that most newspapers aren’t folded exactly in half) Make a nice, new crease.
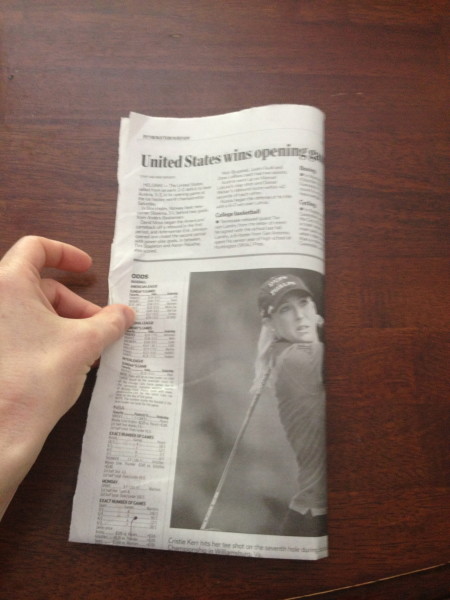
3. With the fold side toward you, fold the newspaper in half side-ways
4. Open it back up. You will now see a crease down the center, which will act as your guide for the next step.
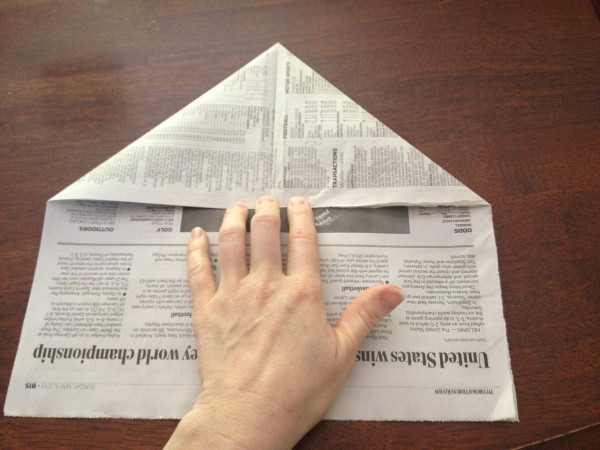
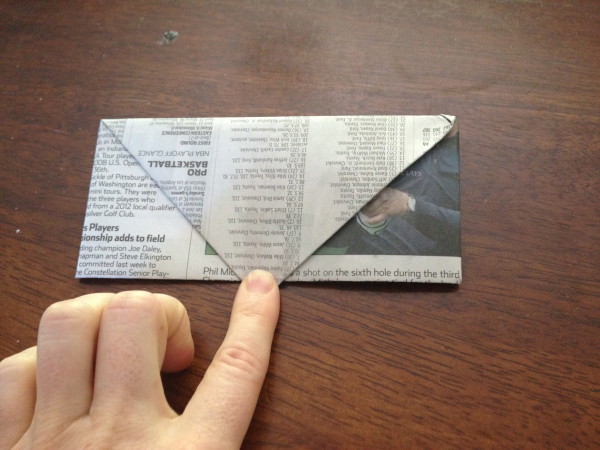
5. Take one corner of the paper on the fold side, and bring it to the middle creating a triangle. Repeat on the other side, much like the base for a paper airplane.
6. Now flip your triangle side away from you and take the top flap of the other side and fold it so it just meets the bottom of your triangles. Make the crease nice and tight.
7. Then fold it over itself again. It will now overlap the triangles.
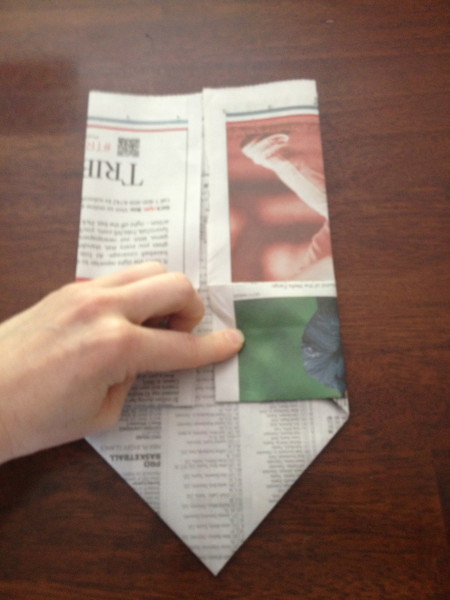
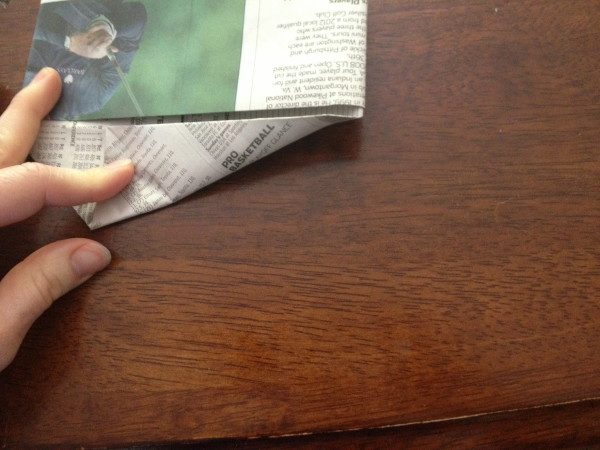
8. Flipt the newspaper over. Take one side and fold it into meet the middle crease…..
9. Repeat with the other side
This is where you start to say, “How is this going to be a pot?” and I say, “Trust me.”
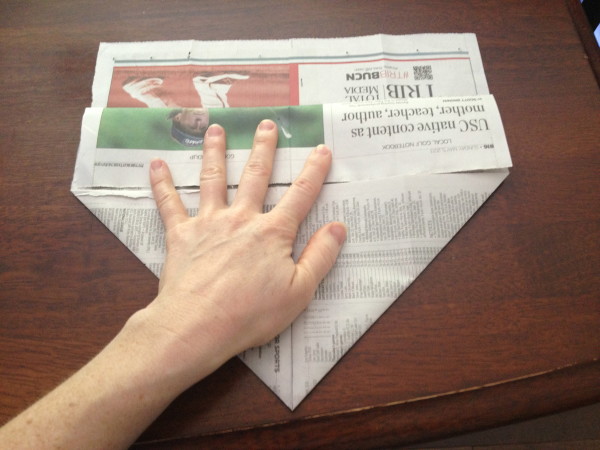
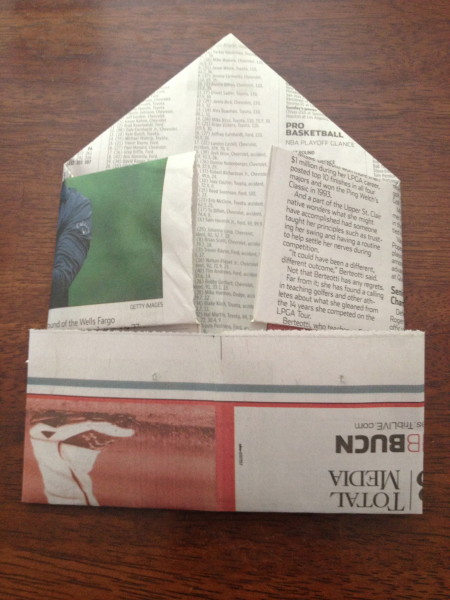
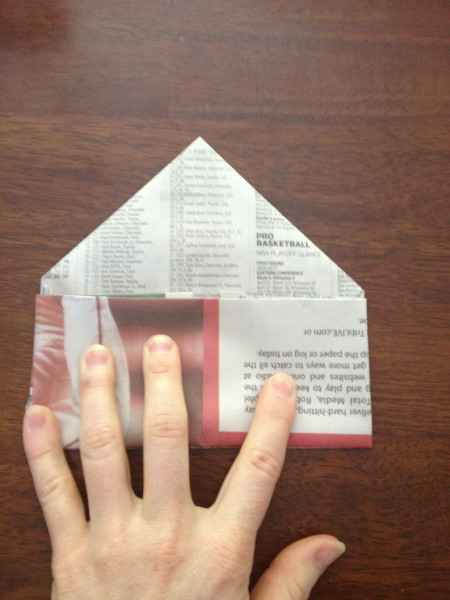
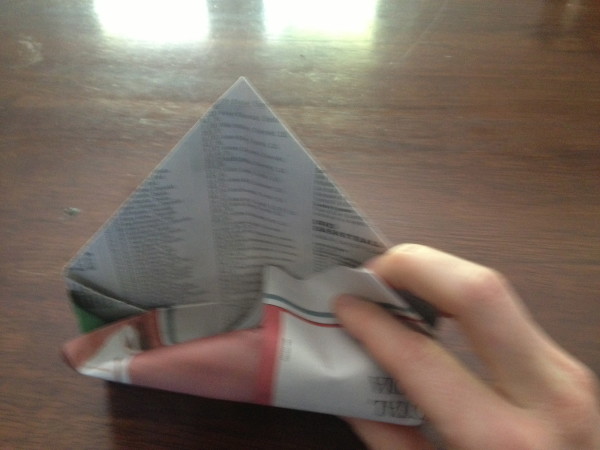
10. Take the bottom and fold it halfway to meet the flaps below your triangles.
11. You guessed it…. fold it again so it overlaps your flaps. Make these creases really tight.
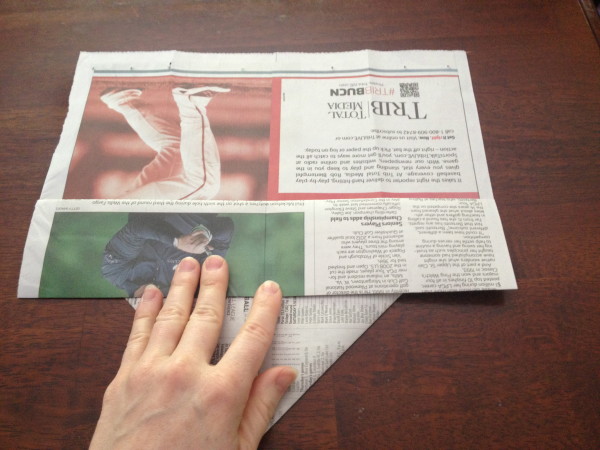
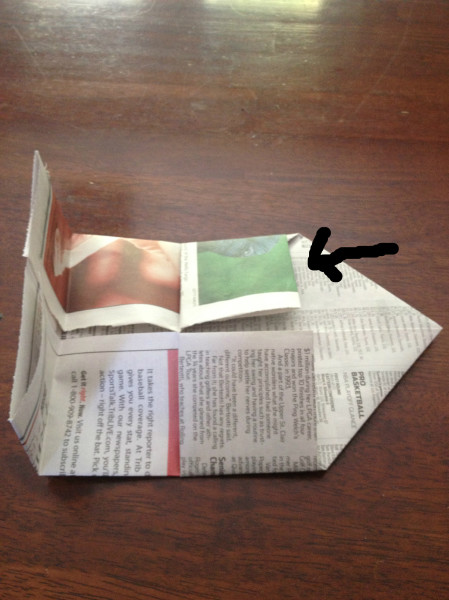
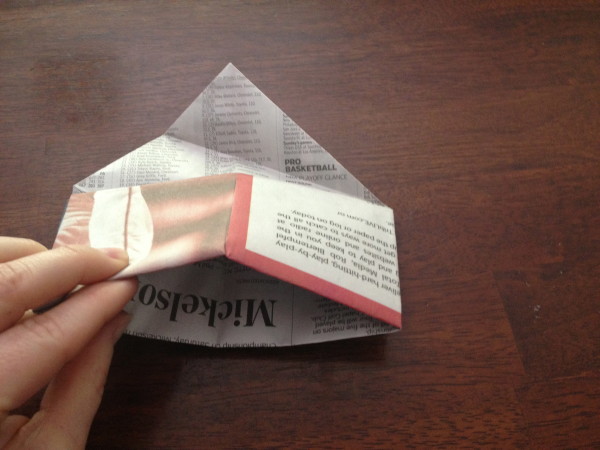
12. Open it back up… take the bottom fold and work it behind the flaps that the black arrow is pointing to.
like so…
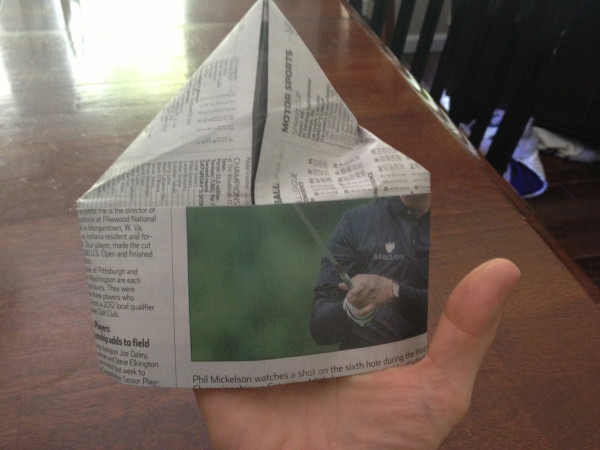
You now have a pirate hat looking thing (that’s the technical name)
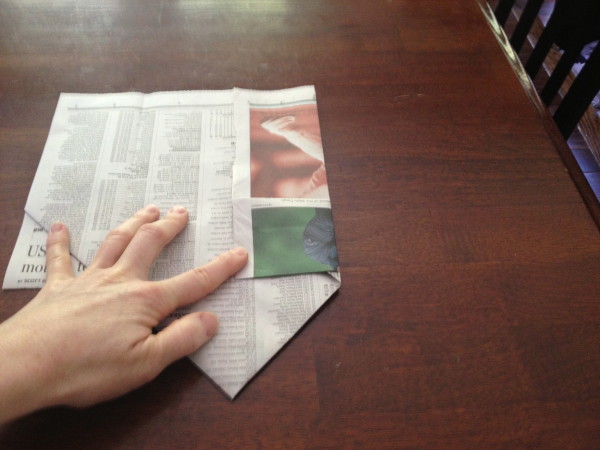
13. Fold the point of the “hat” down one way, and then the other. You’re just making some creases for a later step.
14. Open the “hat” tip back up. Take the point and bend it down to make another crease.
Like this….
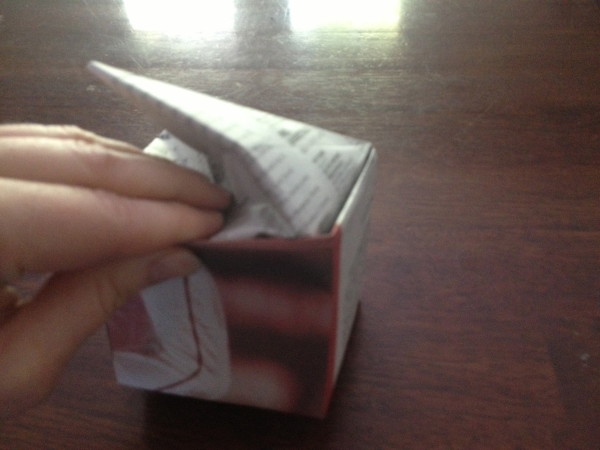
15. Put your hand in the opening on the flat part of the hat and wiggle it around to try and get the triangle to fold on that crease. You kindof have to show it who’s boss.
16. As it yields to your command, help it by folding the point over to meet the corner of the box now forming.
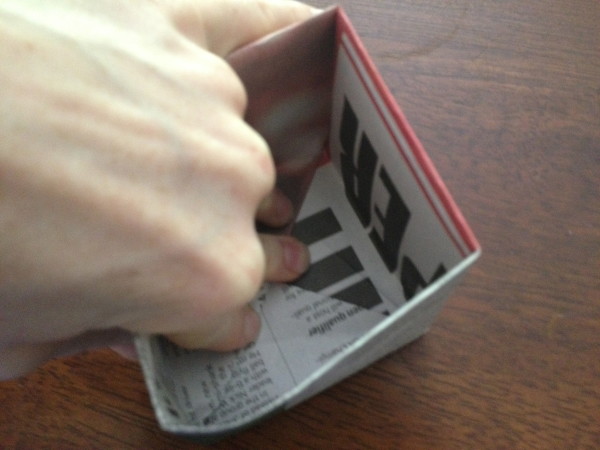
17. Flip it right-side up and push down on the creases inside the box to strengthen it.
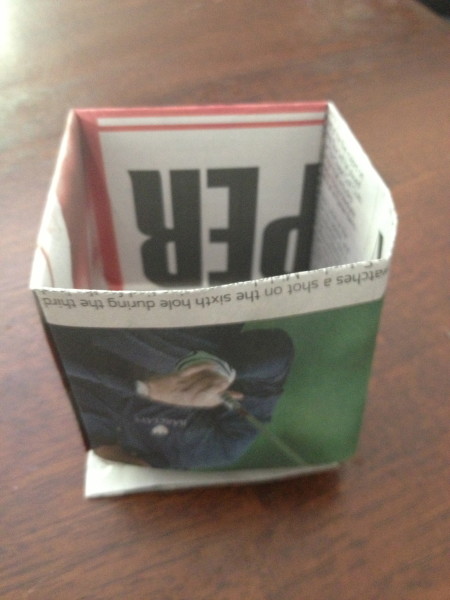
This is what is looks like on the bottom.
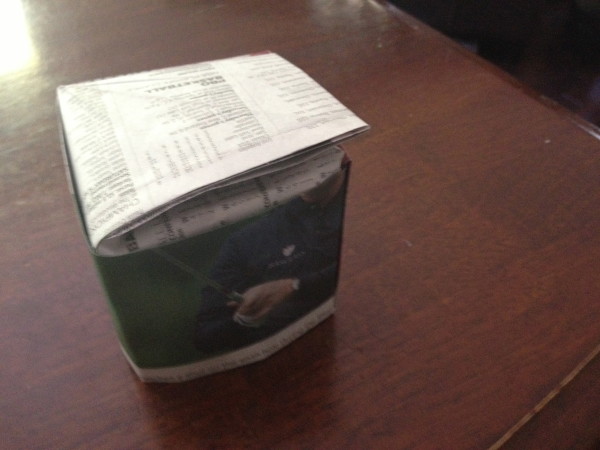
This is what it looks like on the top.
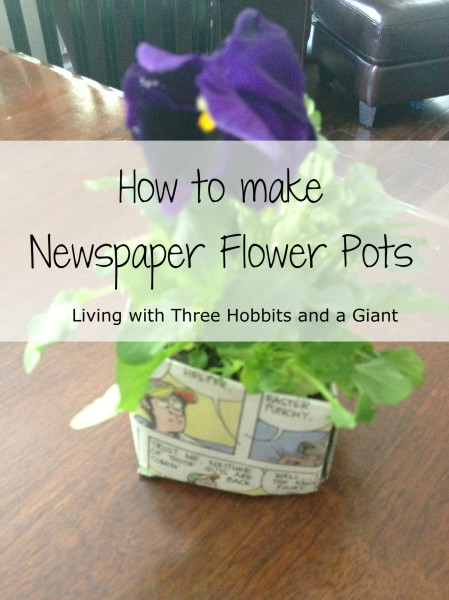
This is what it looks like with a plant in it. Congratulations!

Hi! I’m Leighann. I help busy women go from frazzled to fabulous. I talk about winning imperfectly at life, finding hope in every season, and learning to manage stress while accomplishing your goals. But wait! I have two freebies below – don’t miss out on them – one to cultivate more calm in your life and the other to increase your productivity. Download them now!




Comments (2)
looking to possibly use this as a Bible School project. How do you water the plants without it coming through the paper. Did you line with a baggie or something? Thanks Becky
Becky – we watered them and the paper got damp but seemed to hold it in. We did not line it with plastic since it’s not biodegradable. The idea is that you can plant the newspaper with the plant and the newspaper with disintegrate with time.